
Do you need some extra storage space but want something fancier than a cardboard box? Well, that cardboard box can be fancier then you think! With a little bit of work, you can make this cute storage box!
Supplies
- Burlap ribbon
- Yarn
- A box
- White acrylic paint
- Brown acrylic paint
- A paintbrush
- Scissors
- Super Glue
- A hot glue gun
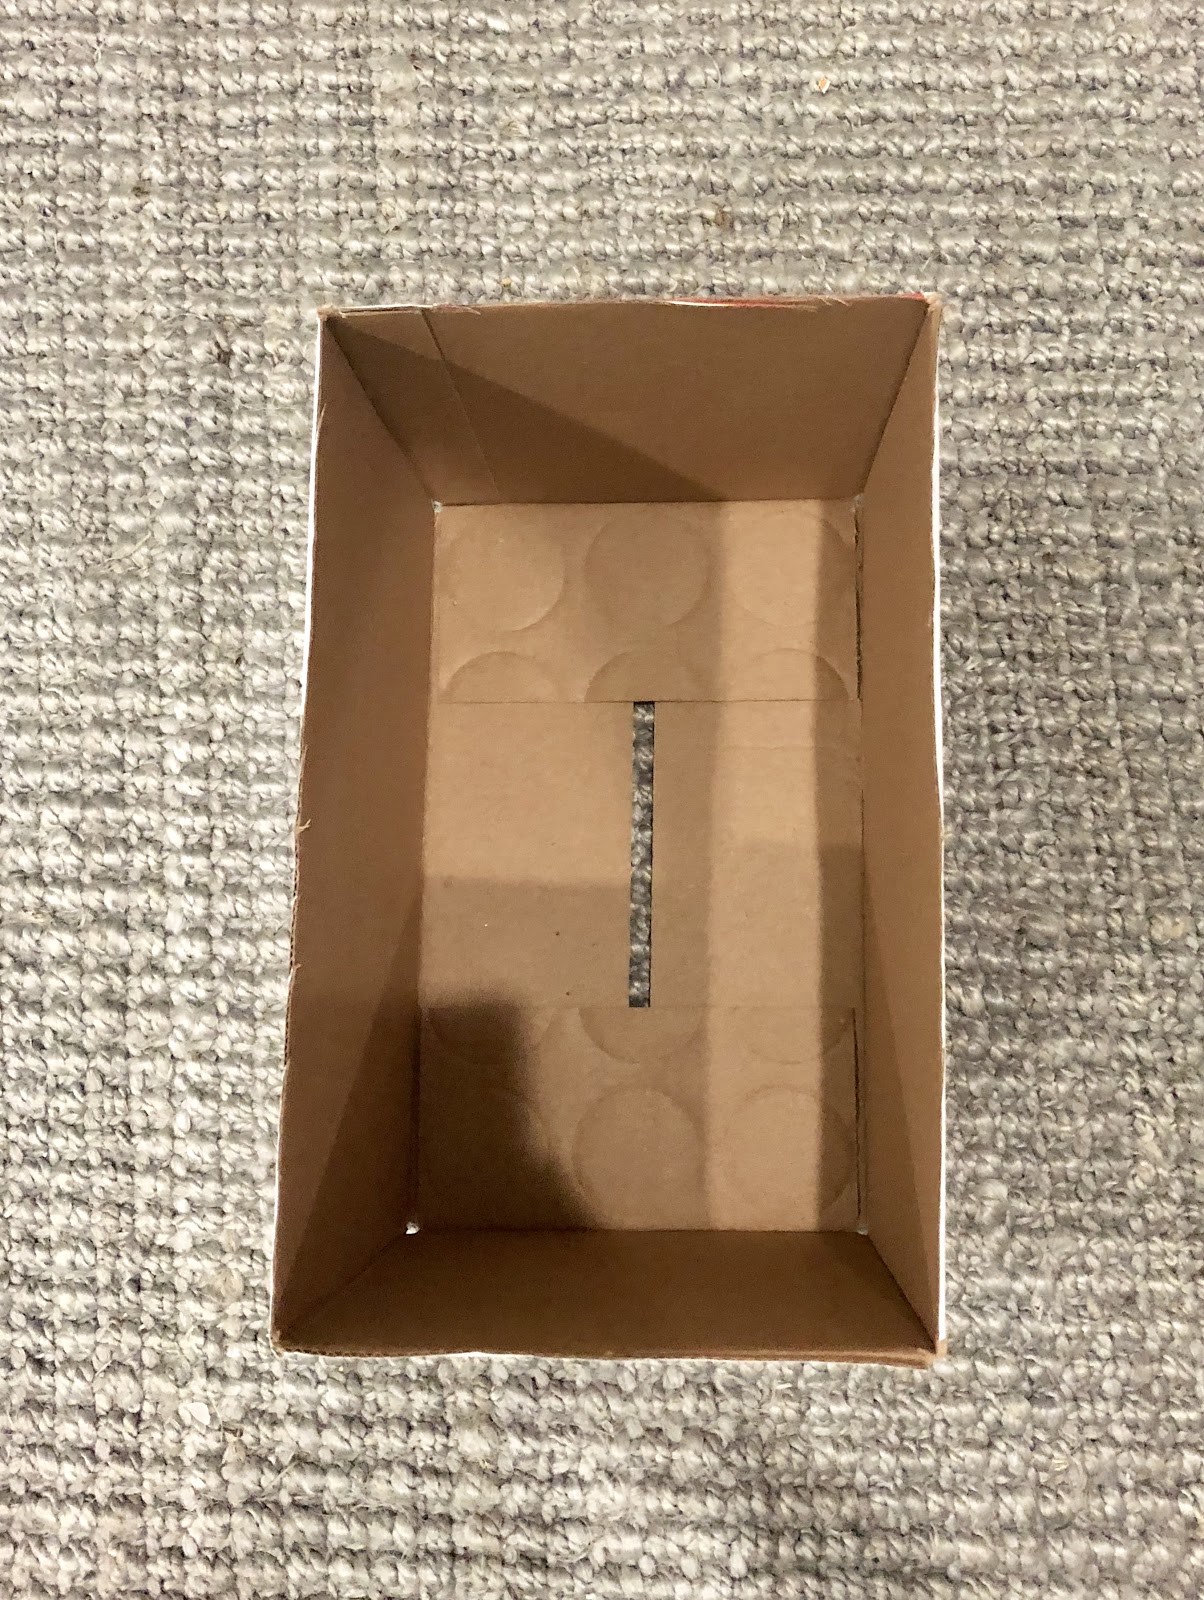
First, take your cardboard box and scissors and cut off the top of the box.
Step 2

Next, take your brown acrylic paint and paint the outside of the box. Don't worry about making the paint job perfect. Most of it will be covered up when your box is done.
Step 3

Now its time to switch over to your white acrylic paint. Paint the inside of your box and then let it dry. This will take about 30 minutes. However, if you used a thick layer of paint you may need to wait a little longer.
Step 4

Once the paint is dry, take your burlap ribbon and super glue. Glue the burlap ribbon to the bottom corner of the box. FInish wrapping the burlap ribbon around the box gluing it to each corner. Be careful not to get the super glue on your hands because its a pain to get off.
Step 5
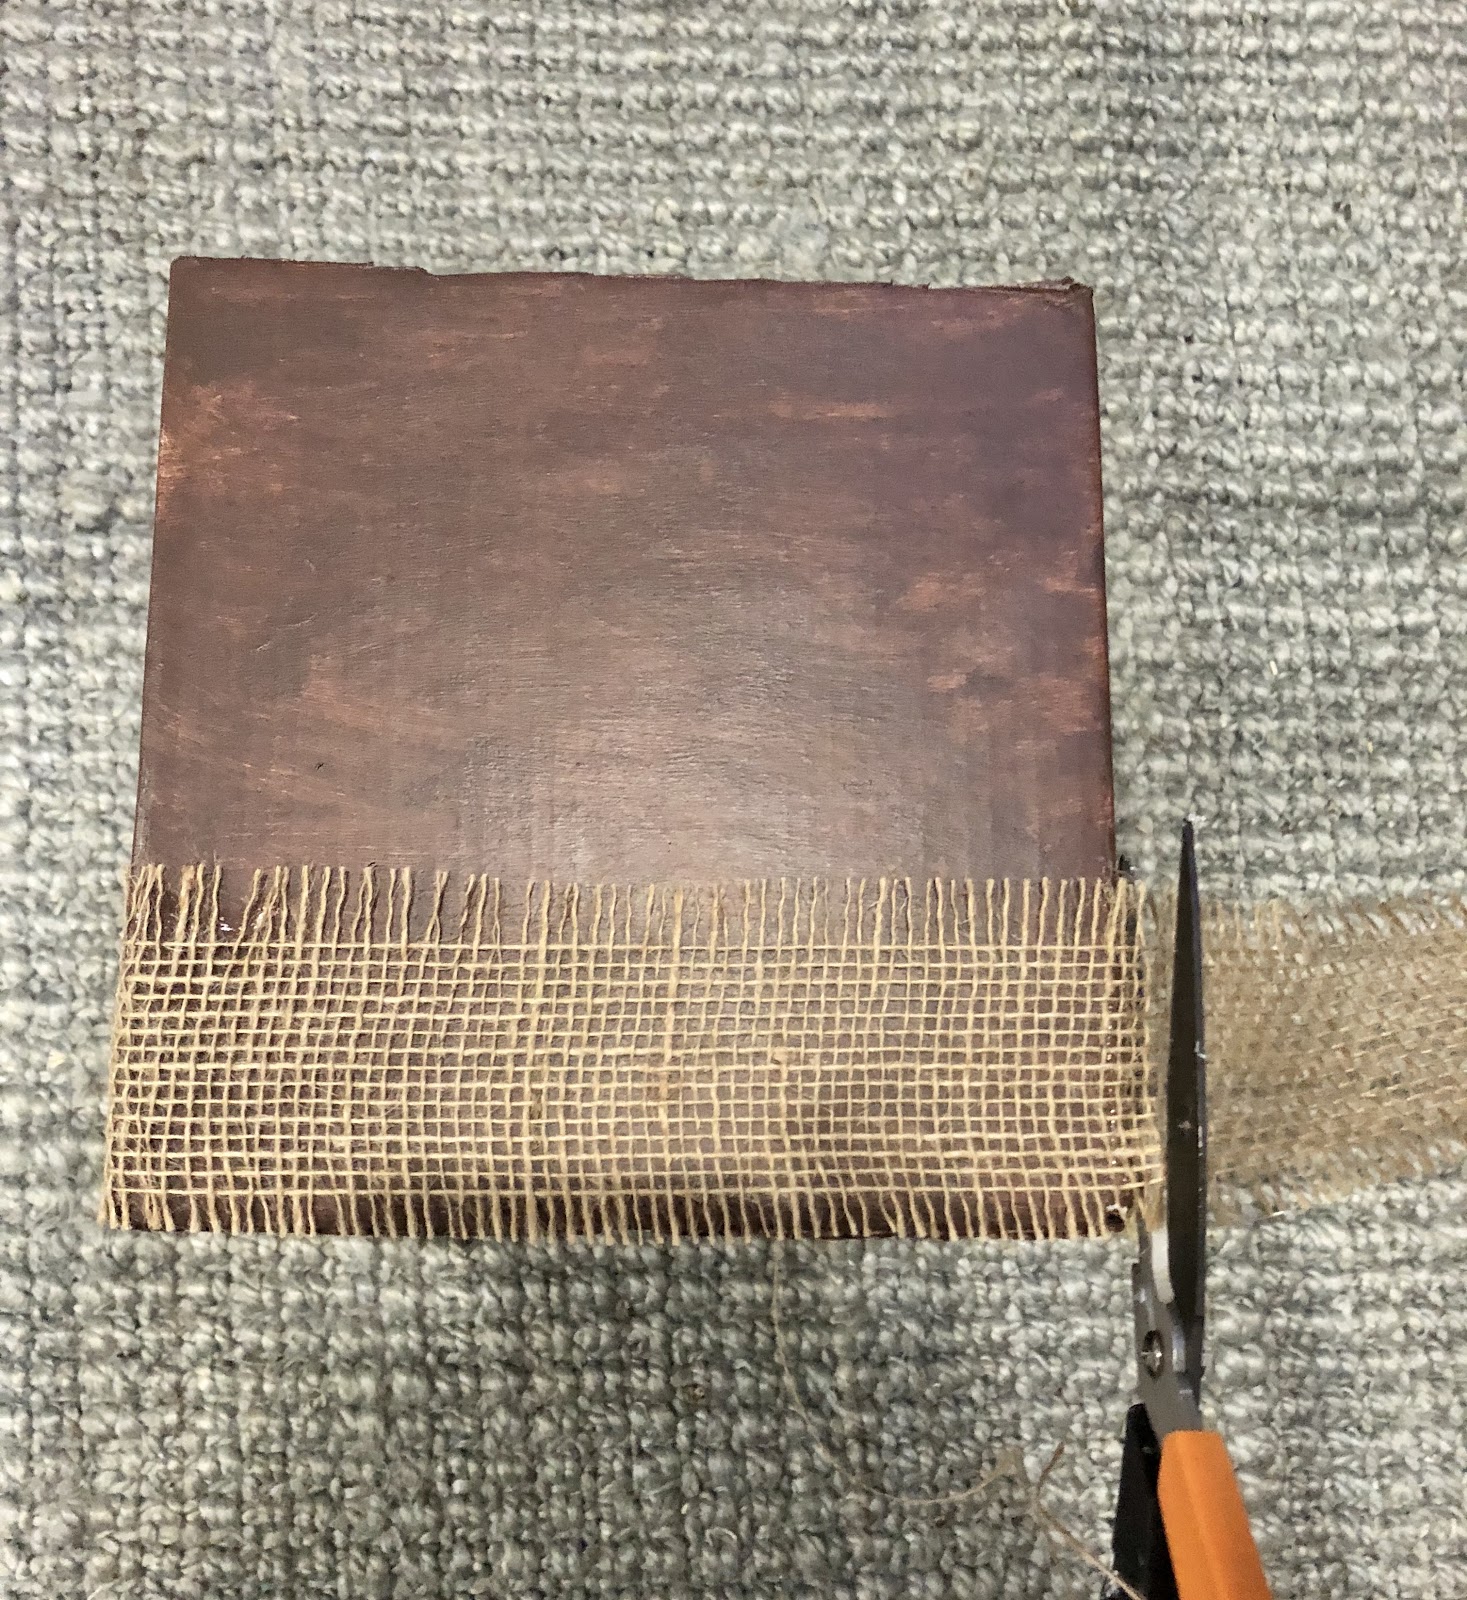
After you finish wrapping the burlap ribbon around the box, take your scissors and cut off the extra burlap ribbon.
Step 6
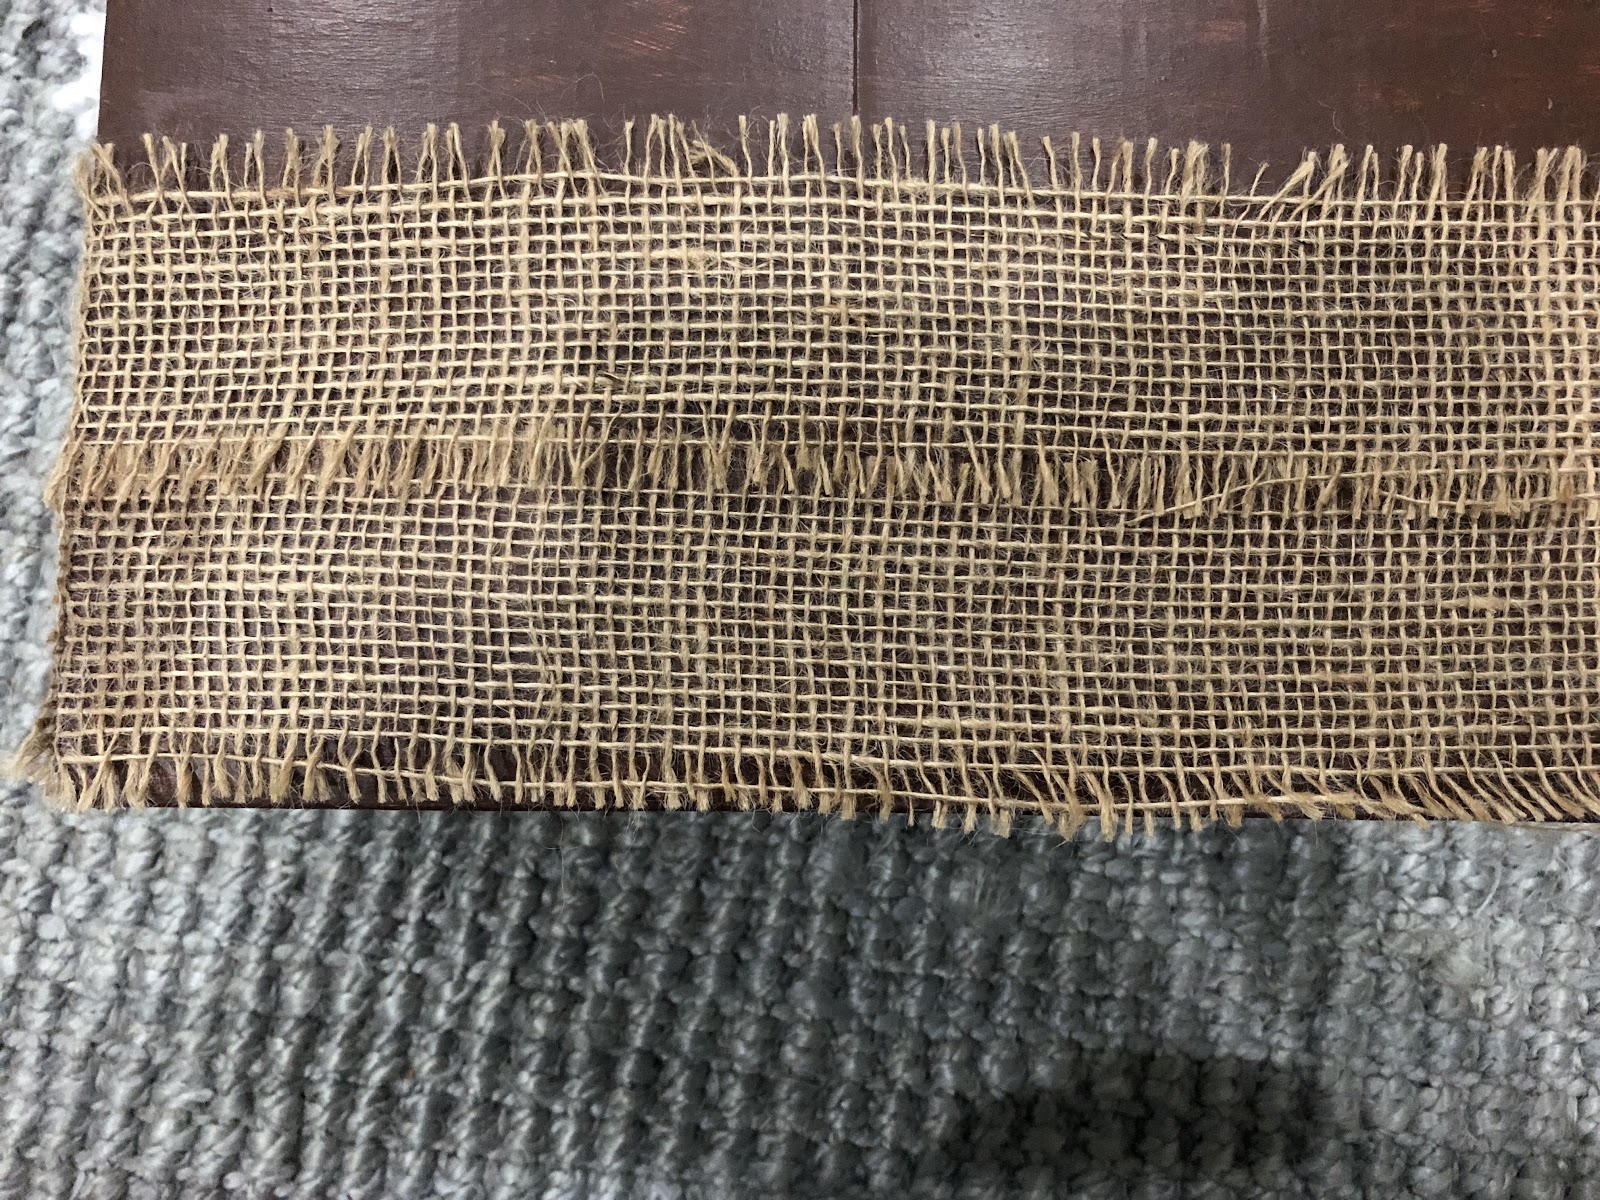
Next, take your burlap ribbon and wrap it around the box again above the previous burlap ribbon.
Step 7

Good job! You're almost done! Now take your yarn and something to wrap it around. I used the extra cardboard from the top of my cardboard box. make sure that the thing you wrap your yarn around is slightly longer than the space between the burlap ribbon and the top of the box.
Step 8
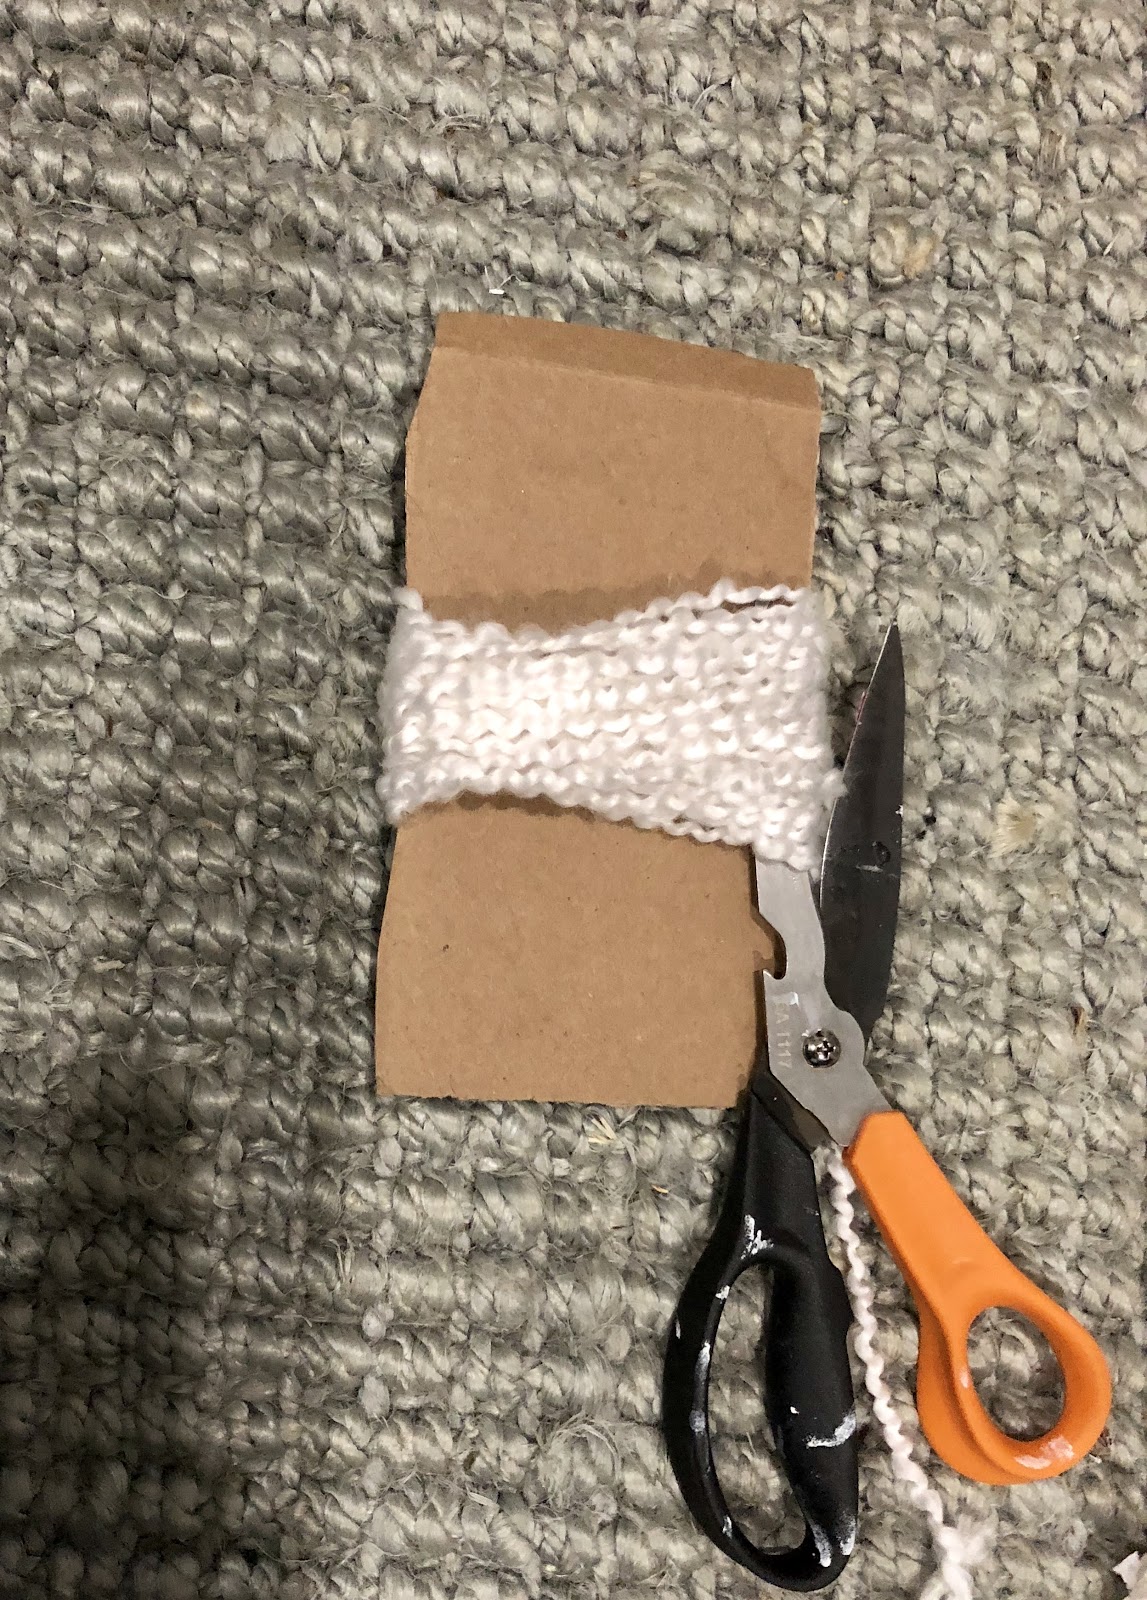
Next, take your scissors and cut through the top of your yarn.
Step 9
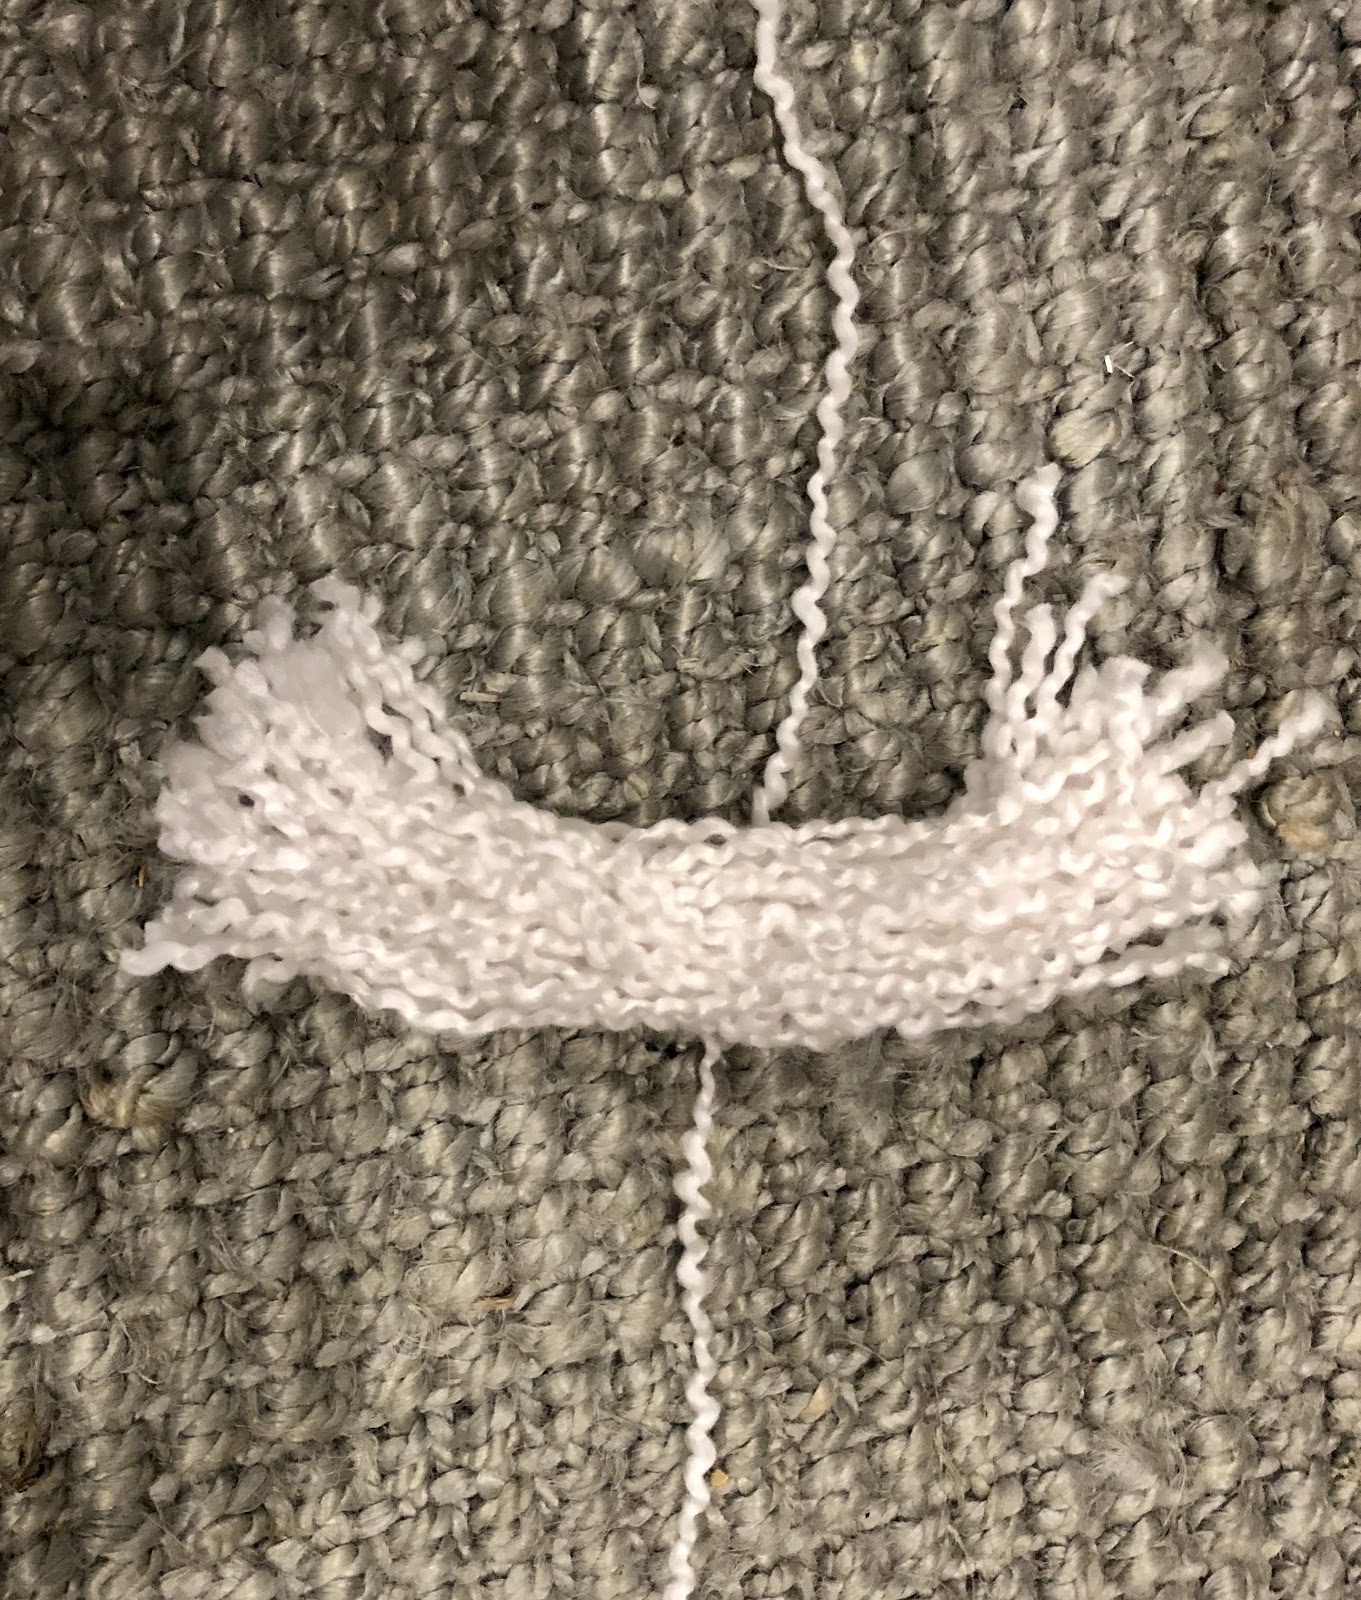
Then cut another piece of yarn and tie it around the middle of your bundle of yarn.
Step 10
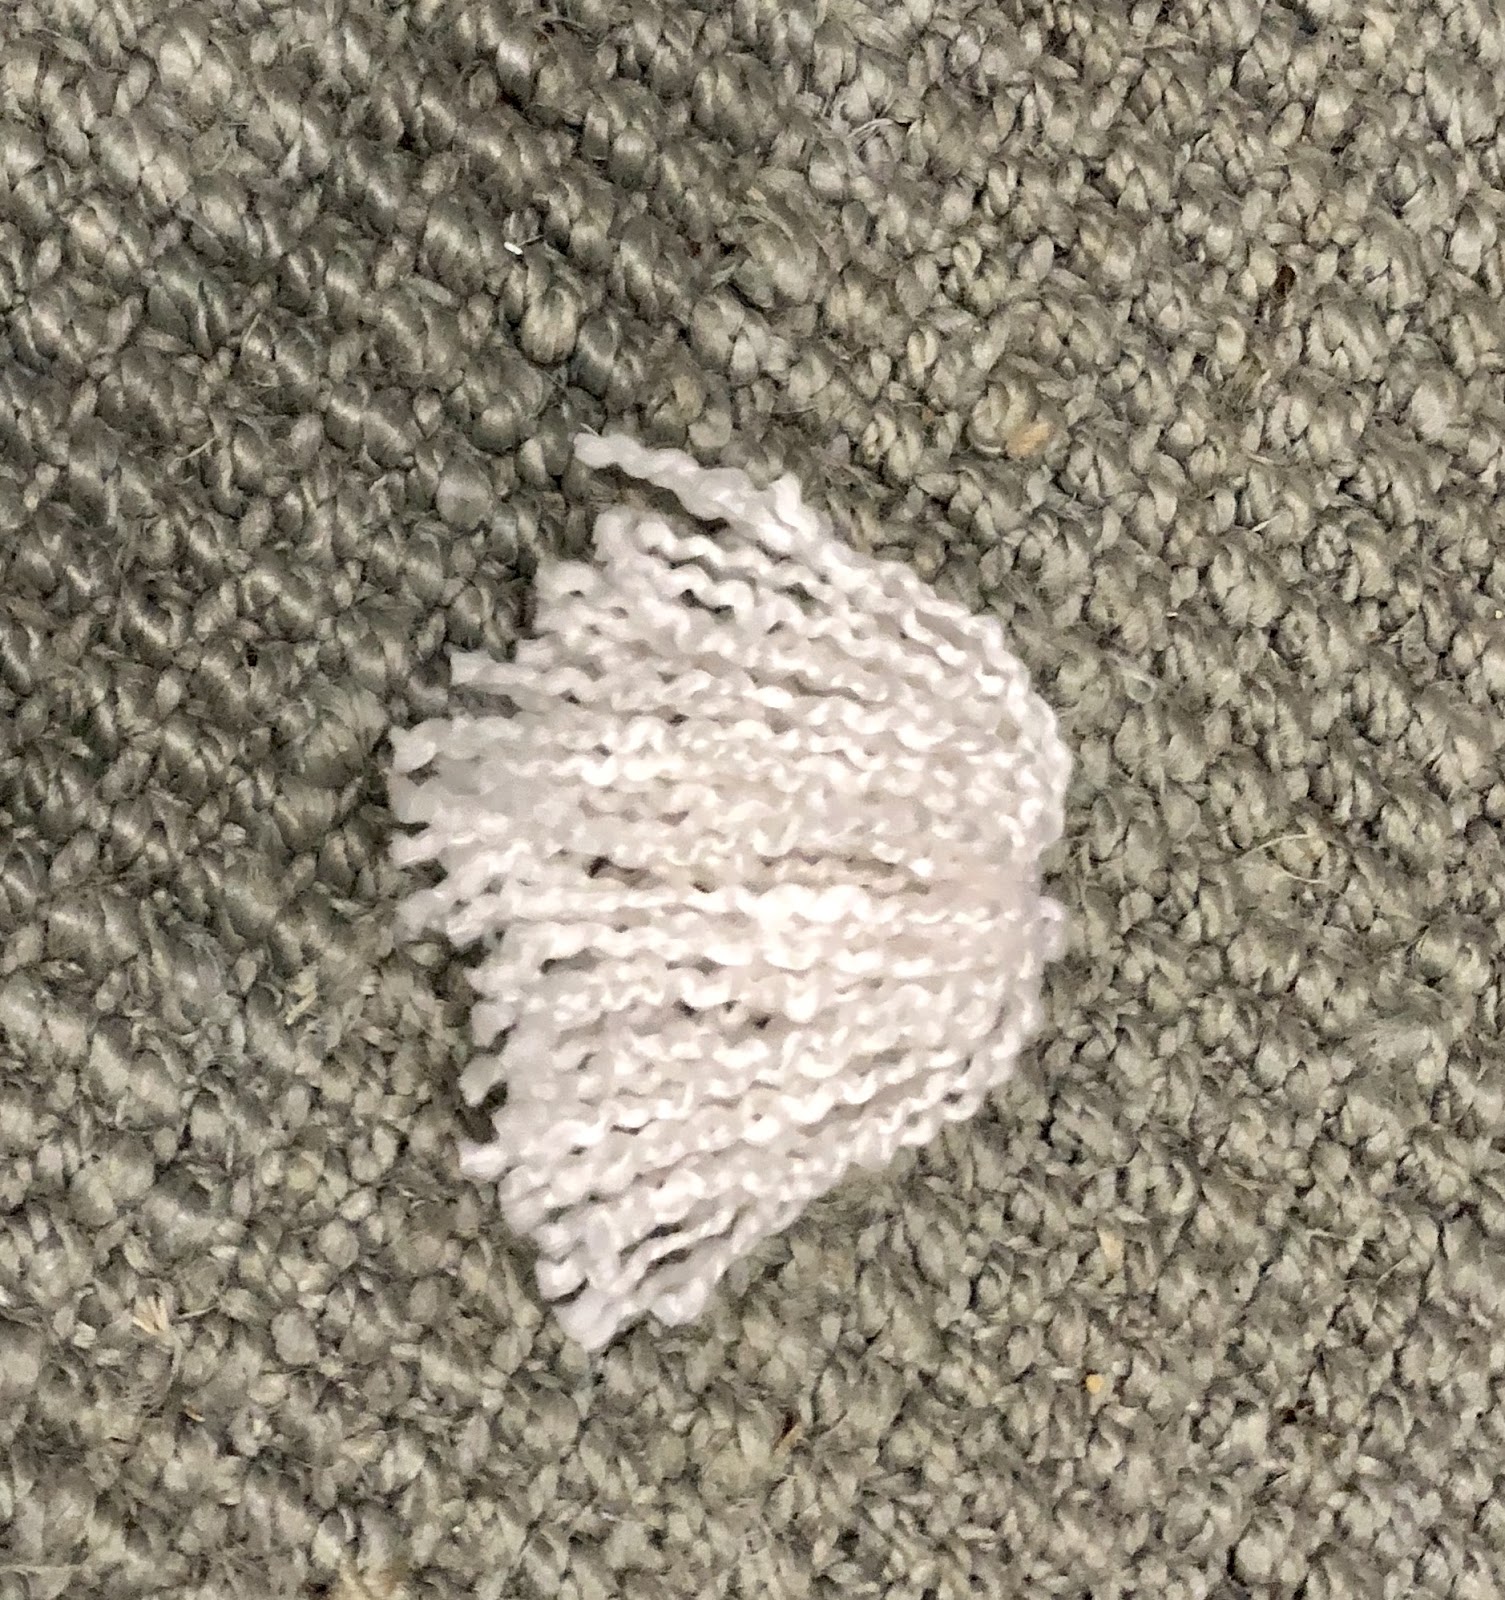
Next, fold the yarn in half so it looks like the picture above.
Step 11

Last step! Take your hot glue gun and glue the middle of your yarn to the inside of the box near the top. Flip the yarn over to the outside of the box. Then continue making yarn bundles by repeating steps 7 through 10. Repeat the step of gluing each yarn bundle to the box until you have covered the entire top of the box in yarn.

You did it! Now you have a nice place to store your stuff. I hope you like your fancy storage box!
Comments
Post a Comment